Saturday, March 25, 2023

Spools and ribbon for an old Oliver typewriter

The early 1900s Oliver typewriters do not use the standard half-inch ribbon, but were built to take 7/16" ribbon on a wooden spool-core.

This machine as found had an ill-fitting standard ribbon (crumpling as it passes through the vibrator) and plastic spools that look out of place (and didn't fit the take-up pin).

Since the 1930s replacement spools and ribbon for Olivers have probably been rather hard to come by. However, enabled by the internet's global online-market, today these are again available. Amazingly, it is possible today not only to buy new, inked 7/16" ribbon, but even to obtain a correct ribbon with a new Oliver-type wooden spool-core.

If this machine had been in good condition, this is definitely what i'd have gotten for it. As it is, the ancient Oliver looks a bit of a wreck - splashing-out on new spools seemed 'too much of an honour' for it. More in keeping with the much mucked-about machine, decided to continue 'mucking about' by making some spools and a ribbon at the kitchen table.

Ingredients are a wooden bobbin from the craft-store, veneer salvaged from a French-cheese-packaging, 10mm satin-weave ribbon from the haberdashers and oil-based metal-stamp ink from an online store. Not in the group-picture is one extra hairpin clip, for making the spool-clip.

The Oliver wooden spool-core needs to fit over a capstan with ~5mm spindle and have a recess to fit over the ~16mm diameter spindle-base. Total height of the spool around 11mm. The central section of this bobbin was 18mm, with a 7mm diameter hole. That nicely gives some play and makes dimensioning less critical, so the bobbin was sawed into ~5mm thick 18mm diameter disks and an extra hole for the take-up pin drilled. The veneer was first placed in hot water for a couple of minutes and then wound round a cylinder to dry - this will reduce stress and risk of snapping when gluing as a flange around the wooden disk. With wood-glue, the now-curvy 11mm strips of veneer were wrapped around the disks (held in-place with some rubber-band to give time to completely set).


When all dry and hardened, only some extra filing for clearances to make sure the cores drop easily onto the capstans of the machine - result: a set of cobbled-up Oliver spool-cores. Not as good as cores turned-up on a lathe, but they'll do for this battered old machine.

Held in place with the clips, the ribbon was wound onto a spool. The first few inches were inked by running it over a pad, then the rest of the ribbon was inked by 'painting' the top of the wound ribbon from the bottle. The droplets of ink placed on top of the ribbon are drawn into the fabric.


First test-typing with the half-inked ribbon was underwhelming - this is certainly not as good as a proper, manufactured 7/16" ribbon. Then again, let's say it is good enough for this battered machine :-)


Giving it several hours to soak, the ink is nearly-completely drawn into the ribbon. Winding from spool-to-spool will further help distributing ink evenly over the entire length of the ribbon. 

Note by the way that the Oliver's ribbon-direction control is a 3-position switch. The L and R settings are for winding left / right spools, but the slide-switch also has a mid-position that leaves both spindles free. This allows winding by hand from one to the the other spool. 


When testing with the new ribbon, it was discovered that the spool-covers of an Oliver are not just decorative, but also a functional item. This springy satin-weave ribbon has a tendency to jump out of the guides and 'go haywire'. The cover is needed to guide and keep the ribbon on the spool. (That's why there's the paperclip on the cup-rim in the image further above of the half-inked ribbon.)

New, reproduction covers could be 3D-printed for sure, but again a more basic method was used by simply mocking-up spool covers from card. Printing the design on paper, glueing to thin card-stock and then cut out. Glue a ~4 mm card rim to the disk, let it all set and paint black - result: a set of cobbled-up Oliver spool covers.


Selecting two covers that were the best press-fit around the cups, this battle-worn old Oliver is a little more complete now with a narrow ribbon and lookalike covers.


Will be seen how this ribbon holds up, it types rather faint now so perhaps some extra ink needed. 


The ink also still needs more days (weeks) to completely seep in evenly - not an issue as this machine was going to be put in storage anyways pending decision what to do with it. This was nevertheless a fun thing to already do with it :-)

Tuesday, March 21, 2023

Black Oliver 3 typewriter and a quick age estimate

Oliver typewriters are generally olive green, this however is a black Oliver. There is no type-number anywhere, but from the appearance and its serial-number 114033 this is clearly a number 3.

To estimate the year of production from the serial number, The Database was consulted. Early Oliver data is however sparse, with a start and end-number for the 3 plus a serial number for 1906 from a documented machine.


Taking the start and end-serials, a total of about 148,000 machines were made. The machine in the 119k range that was rented in 1906, would not have been made after 1906. If it had been newly made in 1906 however, this would mean that about 60,000 Nr. 3's were made in 1906 and about 10,000 per year before that. There will have been fluctuations in production and sales, but overall the 1901 to 1907 period should be relatively stable and any trend or fluctuations would have been gradual and limited.

To fabricate or estimate serial numbers for the Nr. 3, the start and end numbers were taken as a given and a constant production rate of about 25k machines per year was assumed. This then gives estimated serial numbers that would place the machine that was rented-out in 1906 as manufactured in 1904 - rent being due on a two year old machine seems plausible.


These quickly estimated serials then give 1904 as the likely manufacturing year for this Oliver Nr. 3 with serial number 114033.

(Using serial numbers for the Nrs. 1 and 2 and their annual production rates and those for the Nr. 5 could give extra information on annual rate increase of Oliver and that way further improve the estimates - but this quick-guess is nice enough for now.)

Seen from the side, this typewriter really does look 'different' - as the company itself said: 'a striking and radical departure from the norm'. (There is a great article about the machines and the history of the company on the Made-in-Chicago museum site.) 

These are sometimes called 'batwing', but when viewed from an angle they also really look like a period battleship. Two complicated masts and lots of pointy-bits sticking out. Comparing with ironclads of the era - the Oliver fits right in.

Rebuilt Oliver machines were sometimes finished in black, and in spots the olive paint could be found under the black paint. This is a re-finished machine then. The black paper table does have Oliver decals, so the re-paint must've been done fairly long ago, when Oliver decals were still current and available. From the rather slapdash paint-job on the machine, it is however obvious this was not a professional (factory) rebuild.

The machine must have been used a lot, then followed by decades of being stored badly - it is very worn and rather rusty. Some parts are broken-off and others are missing, but it still mostly works! This typewriter is also built like a battleship.


The platen-knobs look extremely worn especially. Apart from the occasional missing screw, the mechanics of the carriage is mostly complete. It also is dirty and rusted. By the look of it, this Oliver's been in a battle.


The ribbon on the machine is an incorrect, standard half-inch on plastic spools. That is an uncomfortable fit for the vibrator that is made for a 7/16" (11mm) ribbon. The plastic spools are probably also the reason the spool-covers are missing, they wouldn't have fitted over regular-size spools and subsequently lost.


Surface rust and lots of surface dirt are all over the machine. Plus there's the patches where mechanism was covered in black paint. 

On an Oliver, the right margin-release is in an odd position central in the machine, just in front of the escapement and star-wheel. 


When releasing the right margin and continuing typing, the carriage rolls right off the machine - tossed overboard. The carriage comes off an Oliver with astonishing ease. Fortunately it goes on just as easily.

The cast-iron nameplates - the Oliver's bulwark - were taken off to be de-rusted with a wire-brush. Only traces of the originally bright nickel remained, but in grey metal these do look suitably robust for this black Oliver. These nameplates also wouldn't be out of place on a Victorian railway-engine.

This pre-dreadnought machine is a bit out-of-scope for the collection and was an 'opportunistic' by-catch in a larger batch of portable typewriters. Undecided what to do with it, this machine will first be 'mothballed' - laid up until it's either getting repaired or sold-off.

Friday, March 3, 2023

Early Underwood 3-bank Standard Portable Typewriter

Had been on the look-out for an early 3-bank Underwood Portable typewriter for some time. The earlier version is most easily recognisable by the shallower front-panel and flatter, less-curved segment. Earlier this week was able to pick one up as part of a larger batch of machines.

After getting the machines home, quickly looking on the frame near the front-right foot of the machine there was no sign of the serial number. However the machine was (is) rather dirty. 

Double checked in The Database that the serial really should be in that spot; targeted cleaning then revealed the serial number - with surprisingly few digits.

This is thus likely indeed machine number 3531 of the Underwood Standard Portable Typewriter. Not certain what number these were started at (100? 500?), but it definitely is a relatively early specimen from 1920 (the first 'real' production year).

Apart from the lower front-panel and segment, there are multiple small difference with later mid-1920s 3-bank Underwood machines. E.g. the return-lever mounting - and of course 'patent pending' on the back-panel instead of the patents list.

This machine 3531 definitely counts as succes in getting an early 3-bank Underwood :-)

With much fun to be had with cleaning and exploring this brilliant little engineering-marvel.

Friday, February 10, 2023

Perhaps best removed - mains plug on headphones

For a reasonable price, a very clean-looking set of vintage high-impedance headphones was bought online. It needed only a light cleaning with a damp cloth, leather-wax on the headband and a polish (Brasso) to come up looking great again.

A quick, online search identified these as Neufeldt & Kuhnke headphones type Kt5a. Multiple sources give multiple years when it was made, but likely this was introduced in 1927 and in their range for 5 or 10 years.

Later variants have simplified sliders over the adjusting rods, but this specimen has the round clamps that are shown in what is probably the original 1927 illustration. These headphones then probably date from around 1930, give or take a few years.


Functionally the headphones are still fine, no breaks. The permanent magnets have lost most of their strength though; the membrane did not even need to be slid off, but could be simply picked-up. (Generally, the membrane should be slid sideways out of the magnetic pull so as to avoid any bending or damage.) With weak magnets the quality and strength of the sound is probably not what it once was, but they do work.

One change to the original item was however made - the connector plug was removed.


It probably is original, also dating to around 1930, but that's a 220V mains plug. It really is a mains plug, rated 6A and 250V with pins at 19mm pitch and made of bakelite. 

Despite taking away from the object's historical integrity, this plug was removed. Because everything is screwed, it's even a reversible procedure with nothing having to be cut. But having a plug that fits regular 220/230V 50Hz power sockets attached to headphones with probably dodgy insulation is just a bad idea from safety perspective.

Even when new, back around 1930, this must have been a bad idea surely. Around that time the power socket installed in buildings started to settle on the 4mm pins at 19mm pitch. Even then it would've been possible to use another type of socket and plug to get a two-conductor connection.

The original crimped wire-ends were instead clamped in the terminals of a cobbled-up audio-jack converter. Much safer.


And this also makes these ~90 year old headphones usable today on any device with a regular 3.5mm audio phone connection.

Monday, January 30, 2023

January 2023 typewriter safari

Weekend before last, we did a tour of the local thrifts. Just to browse and see what was new. (New in the store, that is.)

First thing that caught our attention; a vast vista of milk-jugs and sugar-bowls.

Somebody must have been collecting these for years - and now all donated to the local second-hand store. A sight to take in.

Moving on from this sight there was the usual group of beige typewriters, with one early 1960s exception.

That was a minty and mint Hermes Media 3 portable typewriter!


Could not resist pushing back the jumbled type-bars - the machine was a bit stiff. The type was however very clean. With equally clean booklet, this typewriter probably was hardly ever used. Someone will get an amazing machine in this Hermes.


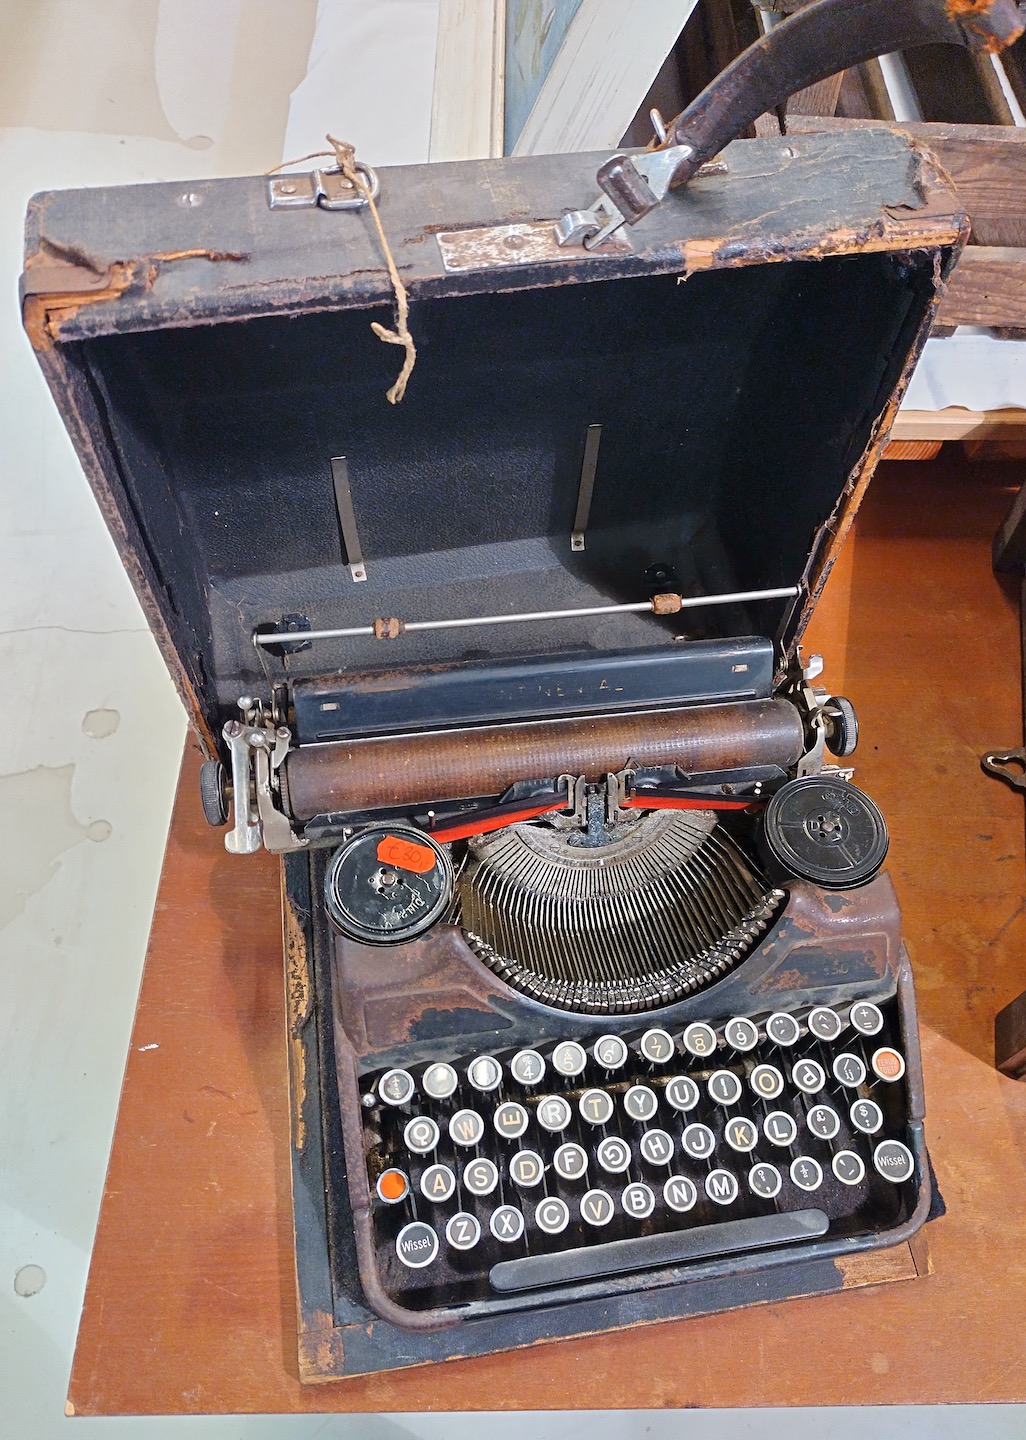
A few tables down was an older 1930s portable machine, in-scope for the collecting era. This Continental 350 was however most certainly not in mint condition. At EUR 30 asking price, also wildly over-priced I think.


In the other thrift-stores nearby was the usual sprinkling of beige 1970s and 80s machines. Generally with very modest prices in the 5 to 10 Euro range and all probably still excellent writing machines.


Enormous, plastic carrying cases generally hold equally plastic electric typewriters.


And the TA case indeed did.


More exotic, but still beige plastic, was this Samsung SQ-1000 electric typewriter wedge. Most remarkable for the written note with the machine: "there are a few keys that don't work, apart from that ok". 


Almost worth the EUR 3.50 asking price just to find out what letters one would have to do without. Writing texts without the Q or the Z might be doable, but missing the E or N would be more of a challenge.

Interesting sights this time, good photo-safari. (And no trophies were taken home :-)

Saturday, January 28, 2023

Touching-up worn numbering wheels lettering

When completely re-doing the lettering e.g. on de-bossed rulers or dials, a simple ivory or off-white paint (or wax) works fine. On quite a lot of old calculators not all, but only some of the digits will be gone or damaged. To limit change to the item only the missing bits can be re-done.

The originally white lettering will however have discoloured with age - from natural yellowing and decades of dirt embedded into the surface. A good, effective way to re-fill these missing digits is to mix a colour-matched latex paint. White (or off-white) latex wall-paint as sold in testers is a good source of paint in small quantities. 

In a small mixing-tray, some of the white latex paint can be mixed with a water-based transparent ink to match the remaining original. Painting a small scrap of paper to hold next to the remaining lettering for checking colour can be helpful, before adding more yellow, sienna, black, etc. A decent match can usually be achieved. (Because different colorants act different under different lighting, it may be good to do this in daylight.)

It is often surprising how yellow the 'white' digits really are.

Using a small brush ('camel-hair brush'), the recessed numbers can be filled with latex paint. Some digits that are particularly dirty can also be gone over to lighten them a little. At this stage, do not worry about paint getting on to surrounding area - simply placing a large blob of paint on a digit would be fine even. Overpainting is not a huge problem, it just makes for more cleaning to be done afterwards.

After giving the paint a minute or so to dry, the excess can be wiped off with a damp cloth. First lightly wetting the surface of the digit (wet finger) and then wiping with the cloth also works fine. Keep the cloth taut and flat, to not scoop paint out of the filled digits. The paint in the recessed writing should remain, latex-paint on the surrounding surface will wipe off without leaving a trace. In case of pitted or scratched surrounding, excess paint can be removed with a toothpick.

The variation in yellowing between the original digits is usually larger than the difference with the newly painted lettering. When the mask is again fitted over the numbering wheels, any small colour differences become even less noticeable. 

Results are again readable, and the appearance is still in-character for a decades-old machine :-)

Saturday, January 7, 2023

Hidden Remington branding

One of the spools of a 1920s Remington Portable typewriter proudly stated it too was 'Remington Make'.

That it is also Remington make is not unexpected- the Portable uses a non-standard, proprietary spool-size.

Unexpected though, is that it has the statement hiding on the inner face of the spool - where it won't be visible when mounted on the typewriter. The other spool has no markings, so it is possible that this is a replacement spool from when a new ribbon was mounted on the machine. Possibly original Remington (Remtico?) new ribbon for their Portable typewriter came with branded spools. 

Yet when the spool is filled the ribbon would obscure the writing, wouldn't it. Perhaps a new Remington spool was sold not quite full, only wound with ribbon right up to the writing. Hard to verify today, nearly a century later - un-opened new-old-stock of Remington Portable ribbons from the 1920s will be rare or non-existent. 

Another possibility is that the spool-face was accidentally assembled with the writing down, instead of on the outer face. Then there would be other spools of this type with "Remington Make" on the top - a detailed examination of The Typewriterdatabase could give clues on that. So far only "Left Top" and "Right Top" markings spotted.

Whatever the reason was for one spool having a hidden 'Remington Make' marking, it's now back on the Remington Portable #2 typewriter and just started taking up a brand new ribbon :-)