With the subtract-function fixed and columns 7 & 8 re-activated, this Burroughs Portable performed all calculating functions flawlessly. What however did not work at all, was the catching of faulty, incorrect input conditions. (Because this doesn't impact the normal functioning of the machine, this a 'malfunction' that can remain completely unnoticed. The machine did not dis-engage and simply completed a cycle, with possibly incorrect results.)
This now also repaired and re-activated.
Looking back, this functionality was probably broken from a combination of wear to parts and from parts getting bent by handling without its case/base. And made worse from my injudicious handling of the keyboard-module during cleaning - learnt for a next time that the exposed brackets are 'soft' and critical to timing.
Most adding machines have interlocks to prevent wrong operation that could cause incorrect results or damage to the machine. E.g. the keyboard is blocked during a cycle or it's made impossible to reverse half-way through a cycle. The Burroughs Portable has plenty of such safety interlocks. It however also has two fault conditions that are not blocked, but that are prevented by dis-engaging the handle and in that way prevent completing a cycle.
The two conditions that should trigger the handle dis-engaging are trying to start a cycle with:
- Depressed total or sub-total and a value set on the keyboard.
- Depressed total or sub-total and the machine set to subtraction.
Reading user instructions confirmed that the machine should catch these fault conditionsa and then reset. (Scans of these original instructions very kindly provided by Mike Hancock who created the very informative Burroughs Info website.)
Reading further in the very extensive US patent 1,853,050 by Mr Horton covering the Portable gave more background on these two exceptions, how they are caught and what should then happen. The two conditions have their own specific 'trigger' that both then lead into activating the same dis-engage & reset mechanism.
To start with, the mechanism to dis-engage the handle from the mechanism is shown in Fig. 3A of the patent (here below). This is a detail of the left-side of the machine shown in Fig. 3 that is mostly dealing with the electric drive arrangement. The axle actuated by the handle (91, orange) is inside another hollow axle that drives the machine. (Actually, it pulls the machine via springs with the dashpot limiting the speed; a lot of thought & experience went into this design.)

To give the short (...) summary: The handle drives the rod 91 that has mounted on it the hook 89, this pulls along the machine's mechanism by contact-surface 87 onto hook 83 that is fitted to the machine's mechanism. At the same time, the rod 191 moves rearward (locks the keyboard among other things), the stud 194 moving in the slot 210 then rotates the extra hook 212 out of the way. That's normal operation. When an exception is detected, the rod 191 does not move all the way rearward and the hook 212 is left in the path of face 86. This then smartly pulls hook 83 away from 89 and the handle is dis-engaged from the mechanism.
In an actual machine, without electric motor, the relevant parts can be seen much clearer.
This dis-engaging should happen after the keys-reset lever is dropped behind its position on rod 191 on the right side of the machine AND it should happen before the pawl of the full-cycle mechanism clicks in its first stop (red arrow) on its cam 76 inside the machine. Then the mechanism will jump back to its rest-position and clear all keys. Simply moving the lever back to its start position will re-engage and the machine is ready again.
Probably due to wear, the dis-engaging happened AFTER the first full-cycle stop clicked in - that meant that a fault-condition would truly disable the machine. It would need opening up and manually resetting, continuing a cycle or forcing a clearing via manipulating by hand rod 191. (This wear and fault may have been a reason long ago already for the machine to be 'retired' and may also be why the baseplate of the machine was loose. It was not fitted to the mechanism, the machine sitting loose on top of the 'pan' so easy access to the parts that need twiddling.)
To compensate wear and move the timing of the dis-engaging before the full-cycle stop, a shim was added onto face 212. A bit of a kludge and too large, but this way the 3mm brass clamps itself on the back of the pawl. Fixated with cyanoacrylate, it only needs to keep it 'still' and the glue does not have to take any force. It also makes it reversible; applying heat (soldering iron) will disintegrate the glue.

The tip of the brass 'shim' was filed down to about 0.5 mm to slightly advance the timing. Another tweak was adding a bush around stud 85 (not visible itself, it's peened into the oval covering of part 87), this pushes out the hook 86 a bit further and makes it easier to dis-engage.
Brass is really too soft for this kind of function, but great for filing to shape when experimenting. In any case it's a 'kludge' and should not see much action - it is exception handling for faulty use.
The more complex side of the mechanism to detect the wrong setting is on the right side; that's where all the control mechanism is. That's where the push-bar is that is pushed forward a smidgeon further if total and a key are pressed at the same time. The keys detection goes via the U-section bail at the top of the keyboard to that push-bar.
That bail (in green circle) is the stop for a push-bar 185 that is pressed downward by the total or sub-total keys, changing its stop-position. This push-bar has an opening around the rod 191, thus limiting the travel of 191 and thus triggering the dis-engaging. (All this took a while to figure out...) With the dis-engaging mechanism again working, this fault condition triggered correct again.
The dis-engaging when a totals is depressed and the machine is in subtract still did not work - the handle did not dis-engage and a cycle was completed (with possibly wrong results).
The detecting of subtract-mode and a total key is a different mechanism to trigger the same dis-engaging mechanism. To make it interesting; the actual machine is different from the patent drawing in just this detail! Other than this subtract-lever detail, the machine is exactly as shown and described in the patent:

Instead of the forked extension to the front of the subtract-lever around rod 191, there is a separate part slotted over rods 191 and 122 with an upward forked-extension that interacts with a stud on the subtract-lever. During a cycle, the rod 191 is swiveled to the rear, raising this upward extension into the path of the subtract-lever's stud; this prevents operating the lever during a cycle - a safety interlock.
This part also plays a role in the detection of the fault-condition - that is done by preventing the subtract-lever reaching its end-position. When a totals is depressed this pushes forward a tab 223A about a sixteenth of an inch, and this tab blocks the subtract lever from reaching its end-position.

This sixteenth of an inch (well, approximately) should make the difference between the stud of the subtract lever sliding past the upward-fork or catching and stopping it. This no longer worked, probably because I accidentally (clumsily) bent the rod 191 assembly during cleaning of the keyboard module - the brackets may all be fairly heavy-gauge, but are soft. To repair this, applied another kludge; an angle-piece shaped from a steel nail was added to the side of the forked-extension. This now makes it catch on the stud when a totals key is depressed in subtract-mode - and move free when no totals key is depressed.
The left image shows it clearing the stud, the right image shows it catching on the stud (and triggering the dis-engagement of the handle, the machine jumping back to start and clearing all keys).
Overall, detecting these 'fails' and finding out how they were supposed work (and then figuring out how to repair) gave extra insight into the whole working of the Burroughs Portable adding machine. With its fairly modular build-up it is not the most difficult or complex of adding machines, but still (or because of that) contains a remarkable amount of ingenuity!
The patent is perhaps a bit unusual, in that a single patent document contains the full description of a whole machine - more often there are multiple patents documenting different features (inventions) of a machine. Absent a full repair or service manual for the Burroughs Portable of the 1920s, this patent is a pretty good resource. To give an impression of the patent; it contains a full 20 pages of detailed diagrams, followed by 28 pages of terse technical explanation.

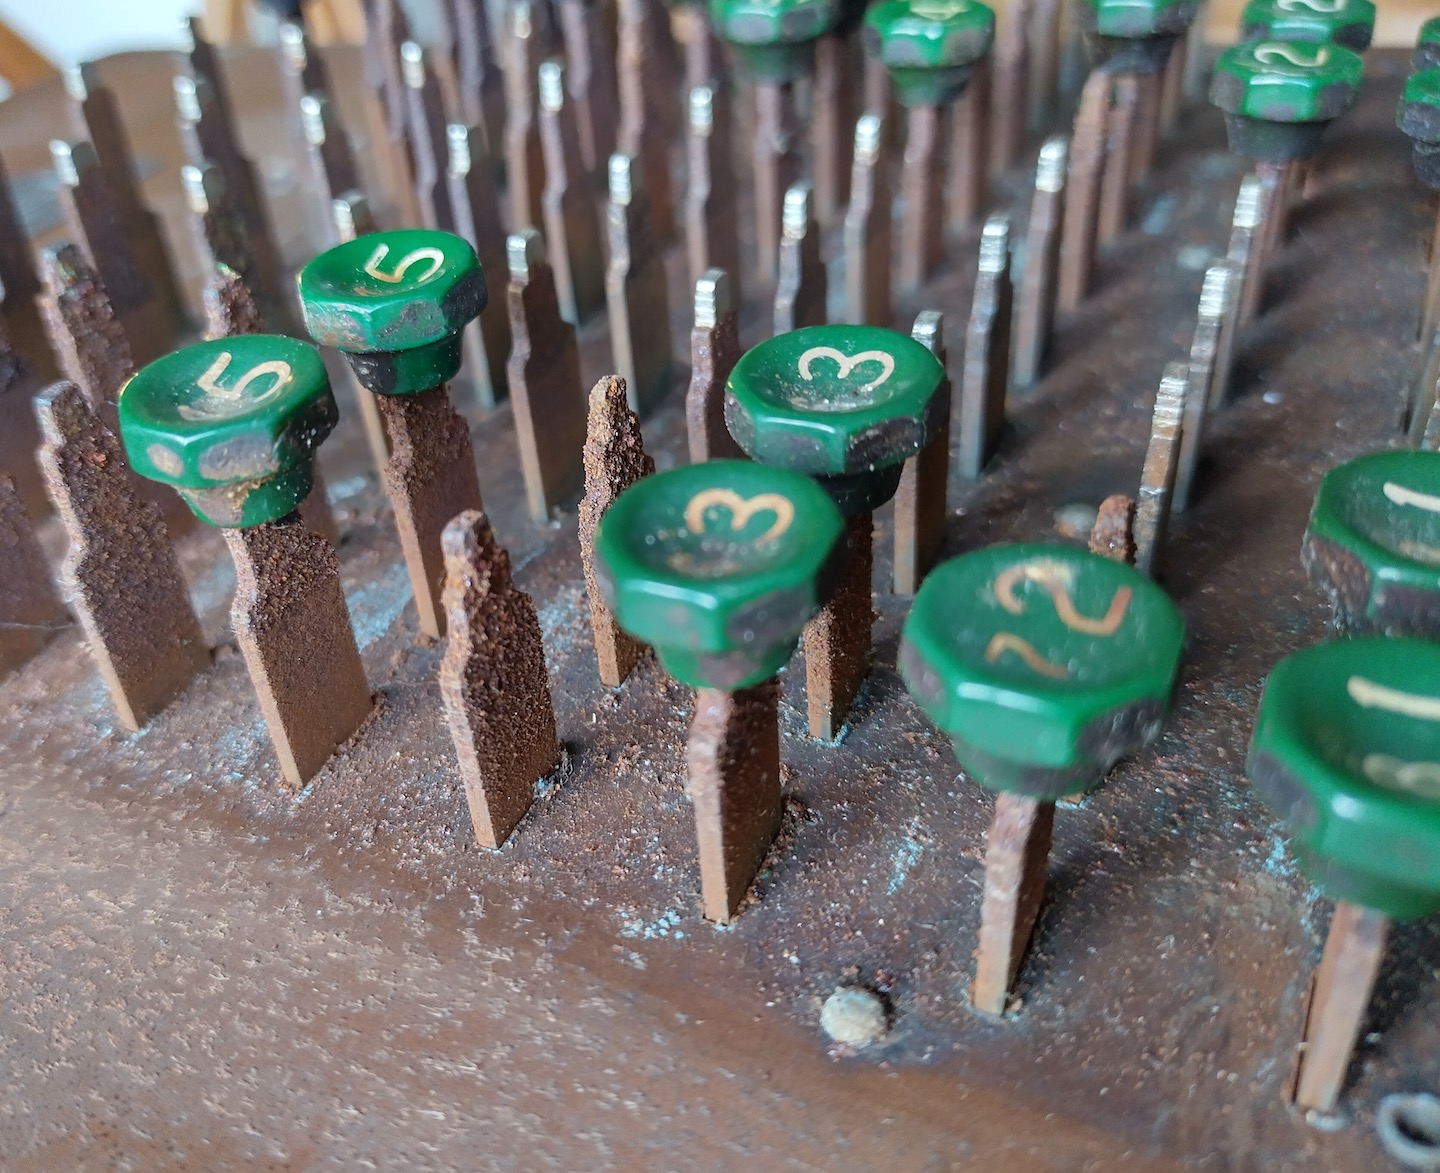
To note though that there are some detail-differences with actual machines (e.g. the subtract-lever) and it was not written for a repairman. It e.g. glosses over some details that will be important when servicing. For example, what it states is true; the keyboard can be lifted off after removing two screws and sliding it rearward. But you also must unhook two springs and use a finger to keep rod 191 pulled all the way forward to take it off without breaking anything! (I've taken the keyboard off about a dozen times by now; that little spring that holds the reset-push-bar is easy to miss.)
These Burroughs Portable adding machines are pretty common and not all that sought after today. The reason these are common is I think not only because Burroughs had a great sales organisation, but also because it was a very good, low-cost and fit-for-purpose design - it sold in large quantities:
Office Appliances, November 1926
Advanced digital computing technology of the 1920s!
For the mechanically/technically interested, these are absolutely worthwhile machines - and repairable too :-)