
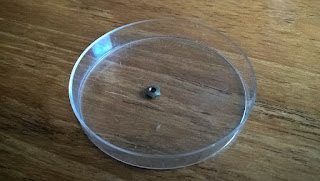
The reason for getting to the bare carriage-frame was that one of these little ~3.8mm diameter balls dropped out. That's a ball from the carriage bearing - it has six of these. Once started to take off the carriage, might as well clean and re-assemble the whole thing.

The reason for the little ball-bearing to drop out, was my application of excessive and injudicious force to get the platen rod out - in the process also destroying the pin in the rod that is used to mesh with the platen.

The reason the pin was sheared off, was that the platen-knob was rusted solid onto the rod and needed 'violence' to come off. This made it impossible to feel for the right alignment that would have allowed the pin to pass through a slot of the left carriage-side. (Had I been aware of its existence...)

Additional to being rusted onto the rod, the two set-screws that hold the knob had so rusted as to have effectively fused with the knob. Oil, creeping oil, heat and hammer-tap would not make them move - and being set-screws half of the heads of course broke off. So both screws were drilled out. Unfortunately flat recesses were ground on the rod, so fully drilling out the screws still left some chips in the cavity to block the knob (in addition to it being rusted onto the rod). Hence the resorting to force - which should have been applied more carefully and targeted. Hindsight.
The reason to start this 'improvement' process was that, although the machine typed, it tore any ribbon to shreds with a rock-hard platen. This truly slate-like platen also made it very loud and probably risked damaging the type-slugs. So when wanting to re-cover the platen, it all starts with taking out the cylinder and that needed the platen knob removed with the rusted set-screws. It all kind of developed from there...
On the plus side, the whole carriage assembly is again squeaky clean and polished with new oil and grease where needed. Also the construction is now understood - how it is all supposed to work. Especially that little pin that fits a slot in the line-spacing ratchet is something that'd take a bit of fiddling to find out.
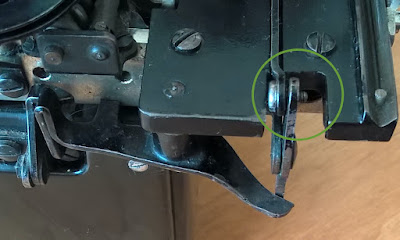
With the now-clean carriage assembled and the paper-bail ruler re-painted with new cream lettering, the parts that I broke were seen to. The ~2mm set-screw holes were drilled out a bit more and new thread was tapped. Mainly because I had 6BA taps and screws handy, this will probably be the only German typewriter with British Association threaded parts on it. A couple of degrees next tot he location of the sheared-off pin, a hole was drilled and a 1.6mm nail-end driven in. This nail-end was then filed to shape, to be a close fit with the slot in the ratchet.

New brass screws were given a nickel finish to fit in. Brass is not really strong enough, but at least they're not going to rust as badly as the original parts!

The small set-screws will probably be replaced by slightly-stronger short screws with a proper head. The margin-release bar however makes it tricky, leaving little room for a screw-head. Best to start with a too-long screw to make shorter than the other way around...
One slightly worrying thing is, that I've one nut left over (diam. ~ 2.3mm in thread). When taking the carriage apart, all sub-assemblies were carefully kept in lots of small plastic bags with their screws and nuts. However, when taking out the margin-bar a small nut seemed to drop unexpectedly, probably somewhere from the left-side of the carriage. I have no idea where that came from or where it should go. The typewriter seems to function fine without this nut, but it is still slightly worrying.
There actually is one spot where a nut is missing - on the backspace levers assembly. The superfluous nut is however too large for this screw-thread (diam. ~ 1.8mm over thread). To further add to the 'discomfort' on all this; when a correct little nut is added to properly tighten this assembly, then the carriage fouls the backspace-mechanism and blocks. So for now it's left as a pivot-bolt without a nut. And a little extra nut in a tray.

Oh, almost as an afterthought - the platen was re-covered with one layer of rubber (inner-tube) and three layers of heat-shrink. The ends were taken off and kept in little bags like all the parts and sub-assemblies. Both marked for rotation so they could be fitted back with the same rotation. Also the feed-roller that was very much not-round got re-covered with heat-shrink layers building up to the right diameter.
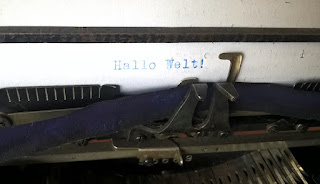
Net result of the whole effort was that we had a lot of entertainment out of the machine and -fortunately- are again at a point where the Erika types! :-)

Still impressed despite the missing and extr nuts!
ReplyDeleteTnx :)
Delete