Friday, August 25, 2023

August 2023 typewriter ^D^D books safari

Last weekend's tour of the local thrift stores yielded 'the usual suspects'. The same gathering of Erika's that's been hanging around one store, and a couple of wedges at another store that have been there for ages.

Also having a browse through the books-section (as always), this time there were some neat and unexpected finds there! A pristine 1904 copy of a very local Frisian language 'Fryske Husfrjeon' with local lore - and more interestingly a history book 'Friesland in 1813' (in Dutch) about the end of the Napoleonic period in Friesland.

This book describes how the end of the French empire played out in Friesland in the fall of 1813. It was written and published to commemorate the 50th anniversary of the restoration of the Netherlands. From the title-page, this looks indeed to be an 1864 printing.

Having been compiled relatively shortly after the events, the writer would still have been able to talk to eyewitnesses. The stories do indeed have detail and names of people. Apart from the regiments and militias that were raised and how every mayor behaved, also human-level stories. 

E.g. how the ~3000 refugees that passed through Harlingen between November 14 and 17 fared. And how a few Cossacks arrived there on the 28th and requisitioned remaining French supplies (coffee, sugar) and auctioned off the local naval supplies that night.

Or the regime-change in Lemmer; news of events elsewhere triggered unrest and the French gendarmes and customs officers quickly made themselves scarce. The guard-booths were tossed in the harbour by the crowd.

When after few days no French forces appeared, the crowd burned an effigy of Napoleon and made the mayor raise the Dutch flag on the tower. And again the selling of coffee and sugar by then-arrived Cossacks, captured from a merchant ship that was still in the harbour. (By the way, not everywhere the change was so swift; in the province of Groningen the French commander of Delfzijl refused to believe the defeat of Napoleon and held on.) 

There are copies of this book in the Frisian archives of course, I suspect it was printed in fairly large numbers. There are a few editions of this work, all edited/compiled by Wopke Eekhoff. He was a book-seller and publisher in Leeuwarden and in 1838 appointed as the official city-archivist of the city. He also was longtime active in the Frysk Genoatskip, the Frisian historical society. Compiling a work like this history book would have been well within his abilities and knowledge.

Perhaps not too common in thrift-stores, but today this book is available in its entirety online at The Archive for easy browsing.

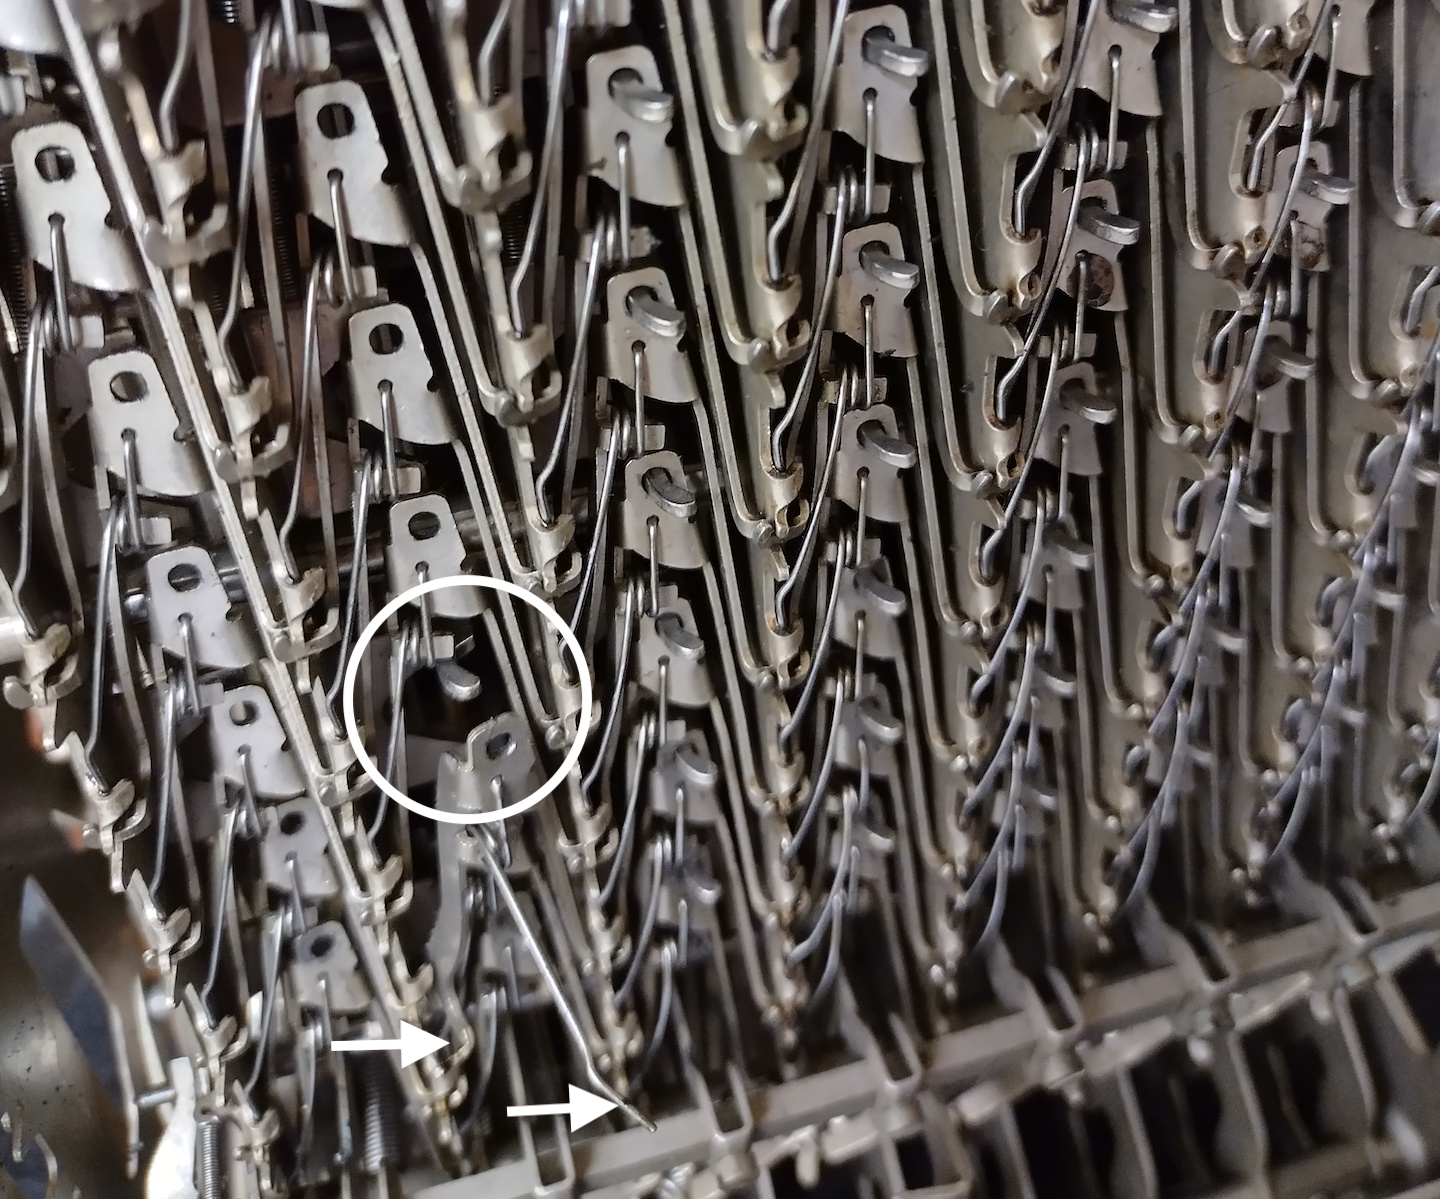
Looping back to the original subject of the safari; no interesting specimens spotted. Typewriters are pretty much all beige in thrift stores today. For example a Scheidegger branded machine of unclear origin. It had future-minded branding as a 'Eurostar' and '2000' also must have sounded advanced. Looking at it, had classed it as a manual machine, but the branding explained that it was an electric. (And indeed it has a carriage-return key - also has a backspace, that I'm sure will not erase ;-)

Otherwise the wedges and electrics are getting to be the staple of second-hand stores. Likely all still functioning fine, all left there for someone else.

Friday, August 18, 2023

Fitting the key-plate back on the Comptometer and re-mounting keys

To start the re-assembly of the Comptometer, they newly-lacquered key-plate is mounted back onto the mechanism. Before doing that, the red controlled-key button must be mounted (insert stem from underneath through hole and press the button on the stem). 

Also the name-plate has to be mounted first; this is screwed not onto the key-plate, but it is screwed into large washers that also serve to hold the cork lining in place. In practice with old machines, these washers will be 'glued' onto the cork and the plate could perhaps be screwed of safely - however there is also a risk the large washer will drop free and deep into the mechanism (and then no way to re-mount the name-plate without a full disassembly and taking off all keys!).

The key-plate having been prepared, the front of the plate is hooked under the two tabs at either side of the carry-suppression levers.


At the rear of the mechanism on the sideframes, there are two tabs that can swivel up. With these 'clicked' out of their position and angled up at about 30 to 45 degrees, these swivel-tabs have fingers that will catch under the rim of the key-plate as it is brought/rotated down onto the mechanism.


With a 'click', the key-plate will sit flat on the mechanism and all the little tabs should protrude evenly through all the little aligning slots of the key-plate. With the four screws (on an 8-column machine) right behind the 9-keys slots the key-plate is firmly fixed on the mechanism.


Then the keys can be re-mounted - one column at a time. The order does not matter too much, unless the holding-levers and springs on the bottom of the machine were completely taken out; then it is best to work from high (left) to lower (right) columns because a lower column lever-leg is placed on top of the lever-leg of its higher neighbour.

Starting with the 9-key and working down turned out to be the practical way to re-fix the keys. Insert from the top, wiggle gently and the curved end of the key-stem will show up near the V-shaped lever that has to catch it (circle).  


To make the curved end drop into the hole of the V-shaped lever, it can be tilted by unhooking one leg. Then re-placed and the torsion-spring again locked under its tab (arrows). The 9-keys are trickiest to get proper access to for this manoeuvre and small pliers may be needed to get at/tilt the lever, but otherwise its fairly straightforward.  It just needs to be done 72 times (on an 8-column machine).

Monday, August 14, 2023

Comptometer decimal-makers re-fitting

After painting of the front panel, the decimal markers have to be re-fitted. On Comptometers these are originally fixed to the cover with rivets - actually F&T used rivets with a shoulder to be able to rivet and still be able to swivel the little markers.

The decimal markers were first cleaned and again filled-in with black paint. To mount them back whilst limiting the risk of damaging the new paint finish, aluminum rivets (instead of steel) were used. A batch of 2mm diameter, 4mm long hollow-shaft aluminum rivets was bought - these have a head that is too large, so 8 rivets were turned/filed down to heads of a bit over 3mm diameter. (Should've gone smaller, with hindsight.)

The holes in the cover were filed were needed to take the 2mm rivets. Some M2 washers to support the rivet on the inside, except for the locations that have the window spring-clips acting as washer. A spot of petroleum jelly added to the holes before fitting the rivets to act as rust-prevention and lubrication.

The aluminum is soft enough to allow the rivets to be fixed without having to hammer them; they can simply be squeezed flat with pliers. Pressing with pliers (protection over the heads to prevent marring) allows the press-fit to be tweaked so that the pointers move easily, but still with a little friction. When squeezing tight, the heads however do also flatten and spread out a bit. They're not too disturbingly large, but still a few tenths of a mm larger than they should've been. (Next time, will make the heads smaller to start with.)

Result is that the pointers are again fitted; they look credible and move fine without any scratching of the paint - which was the main concern :)

Saturday, August 12, 2023

Fitting new key-tops on Comptometer key-stems

Having printed a new set of key-tops for the Comptometer, these have to be fitted to the stems. The key-tops of a Comptometer cannot be pulled off, but the entire key-stem has to be removed from the machine. (This is actually easier than it may seem - at the bottom of the mechanism unhook a spring + tilt a bracket and a stem comes right out.)

Because there may be small differences between the columns - either from adjusting when new, or from wear over time - the key-stems were kept as sets per column. To start with replacing; a column of old (and dirty) key-stems and a set of new key-tops.

To remove a key-top from its stem, the stem is clamped tight in a vice (using card to prevent scratching of the surface). With the tips of pliers held against the key-top, a few light taps of a hammer against the pliers near the stem will make the key-top come off cleanly. It's bad practice to use pliers; it's bad for the pliers - a custom grooved bit of steel or hard wood should have been made, but the taps are not hard and it was a cheap-n-rusty thrift-store find.


Every stem was thoroughly cleaned. Rust and dirt was removed with steel-wool, where needed some filing of the sides. A scrubbing in soapy water then to further clean and remove any steel-wool particles clinging to the part (not something to get inside the Comptometer mechanism!).

As a finishing step, the stems were rubbed with aluminum - this gets smeared into any rough, rusty areas. This helps to protect and also makes any defects less noticeable. Working per column-set and one key at a time to keep track and not mix-up any numbers and stems - all the stems are different lengths and a '3' key-top should go on a '3' stem.

The new key-tops are a press-fit on the stem - in normal operation a key only gets pushed on, the only 'pull' it gets being the momentum from spring-back when a key is released. They're on pretty tight and should be fine. Some glue could be added later, if it turns out that key-tops do jump off or get lost. Working through a column, the end-result is a re-keyed set of key-stems. (Probably the cleanest Comptometer keys in the Northern hemisphere :-)

Cleaning and replacing the key-tops on all the 8 columns of this Comptometer, gives 8 sets of clean key-stems ready for re-assembly into the machine - likely much the same as what the earlier 1940s refurbishment would have had lying ready :)

Sunday, August 6, 2023

An inept attempt to hide stolen goods? Or crossing-out a factory mix-up?

To give the old Oliver 3 typewriter a thorough clean, so that it'd be rusty but not dirty, it was taken apart pretty completely. Down to its foundation, the cast-iron base.

The unreadable main serial number on the rear of the base had been attributed to the slapdash black paint-job, but sanding away the black paint revealed that the last digits of the serial look as if deliberately obliterated. It really looks like chisel-blows to the digits.

Removing a serial-number is suspect of course - could it be that this was an attempt from long ago to make a stolen machine untraceable? (And then also given a coat of black paint to make it less recognizable?) 

It seems far-fetched perhaps, but Olivers did get stolen. The Oliver Typewriter Company did keep track of serial-numbers of stolen machines too, as is documented in 'The Battle of Detroit' between Oliver and The Typewriter Trust (Remington e.a.) . A great blog-post about this saga is at oz.Typewriter - fascinating reading!

In case this defacing of the serial-number was an attempt to make the typewriter untraceable, this was a ridiculously ineffective action. Right next to the main serial-number, it's also stamped into the back frame-rod of the carriage. This came out undamaged from underneath the black paint. Did they miss that?

That however isn's the only back-up number that's on the machine. The serial number is also stamped under a tower platform. Not obviously visible, but accessible.


And there's more - normally hidden under the flange of the comb plate; there it is again, stamped into the base casting.


For good measure, also stamped into the main pivot-rod for the shifting.


To top it off, the number is even stamped into the little plate that clamps the leather patch that buffers the space-bar linkage inside the base. After pressing down on it for over a century, the serial-number was also in the leather patch, albeit in mirror-image :-)


Overall, if this destroying of the last digits of the serial-number on the main, raised area for it was an attempt to hide the machine's identity, this attempt failed. Must have been very inept thieves, to even miss the serial number at the back of the carriage. Or there is another reason behind the mauled serial number. 

Could it be a casting-error that made the stamping of the digits ineffective? 

The marks over the number seem however deliberate. Also the chisel-marks would be a strange damage to the (wooden) mould for the casting surely. And in case the raised area were moulded badly, this is a face that could have been easily filed/milled clean again.

Or could it be that the stamping-tools for the large digits and the small digits were not set to the same number?

In case a mistake was made at the factory in 1904, the large number stamped e.g. 114303 and all the multiple small numbers stamped as 114033. Then a reasonable fix would have been to erase the number that was stamped once only; i.e. the large number. Then it'd also make sense to hack away only at the final digits, the thousands' number wouldn't be changed too often and unlikely for an error to be there. In case the mistake was that the large stamp hadn't been incremented, so set to 114032, then obliterating the last digit would have been enough - so perhaps a mixing-up of correct digits in wrong order is the more likely mistake. 

If an error was made in the large number stamp, then the remaining small serial numbers are correct for the machine. However, if the small stamp was mistaken and the serial should have been e.g. 114303, then there would now be a duplicate machine with the same serial-number. (One way to confirm the mix-up theory would be to find another Oliver 114033 - but slim chances of that ;-) Most likely then that the small number stamp was correct and the mistake was made in the large stamp; a typewriter factory in 1904 would be unlikely to create duplicate machines.

On balance; the most likely explanation for the unreadable serial-number is a manufacturing mix-up with a mistake made in the large number-stamp.

Tuesday, August 1, 2023

Getting a Mignon to write again - feed rollers and adjusting the type

This rusty old Mignon index-typewriter needed some repairs to make it functional again. From browsing online, a fairly common issue with Mignon typewriters is that the feed rollers are 'gone' and glued to the platen. This made that the platen didn't just not feed paper, but it couldn't even be turned - blocked solid.

Removing (and putting back!) the carriage on a Mignon is easy, even simpler than it is on an old Oliver typewriter. Place the left margin-stop between two positions - this will keep the lever of the margin-stop in the up-position.

Then press down on the space-key and/or the carriage-release and simply slide the carriage off to the right. (The space-key and the carriage-release are actually the same function, a 'press' on the carriage-release will space the carriage.)

With the carriage off, unscrewing the plates at the front-sides of the carriage allows the margins-bar and ruler to be removed. Take care to catch the little springs that press the ruler agains the platen. This then gives access to the feed-roller springs that can be removed using pliers - note that these are spring-steel and the forked ends are genuinely sharp!

Temporarily loosening the brackets that hold the feed-roller assembly then allows the complete feed-roller assembly to be wriggled out to the front of the carriage. (I.e. no need to remove the platen; platen is held with pins, pins may not be without rust, etc...)

The feed-roller assembly is held together by double M2 nuts on all axle-ends. When these are removed, it all comes apart. Note that the centre pivot-axle is not symmetrical - there is a left and a right end! Note that also the four connecting brackets are all different and need to go back on their correct position in the assembly.

The feed rollers (now unstuck from the platen) had indeed become 'triangular' and beyond repair. To replace with new rubber, the old rubber was cut away from the core tubes of the feed rollers. Messy.

The 3 front-rollers and 2 rear-rollers reduced to metal tubes, can then be re-covered with a few layers of heat-shrink tubing. The front rollers to approximately 8mm diameter, the rear a bit larger to about 9 or 10 mm. (The Mignon is not very critical on roller diameter :-)

The feed-roller assembly is then put together again - and manoeuvred back into the carriage from the front. The assembly pivot-axle is clamped/held by the side brackets. 

The two curved-springs can be placed back with pliers, to lock behind the notch on the carriage-frame. Ruler and margin-bar replaced and side-plates screwed on to complete the carriage. (And paper-table put back, had taken that off for convenience and to reduce the risk of damage.) Scraping and light sanding of the platen to remove remnants of the feed-roller rubber sticking to the platen, and the carriage again feeds paper!

The carriage then placed back into the machine (easy), it turned out that only the top-halves of characters would print. This must've been an issue for some time, because this machine had the type-cylinder propped-up with a scrap of paper when it was bought. Instead of messing-about with scraps of paper jammed under the cylinder, the type-rod can be adjusted on the machine. This again is fairly easy on a Mignon.

Remove the single screw and remove the cover; press down the two keys to allow the cover to move forward and away with ease. This reveals the core of the mechanism of the Mignon, in all its brilliant simplicity. The large lock-nut holds the large central set-screw that captures the horizontal rod. If needed, adjust this set-screw to make the pointer move freely (yet not too freely). 

The 'flower-wheel' behind the lock-nut adjusts the position of the type-rod and thus the vertical alignment of the type. The little tab behind the rod needs to be pushed back to unlock this wheel, then this 'flower-wheel' can be rotated left/right to move the type up/down relative to the platen. The tab-plate springs back and locks the wheel in position to prevent drift of the vertical alignment during use.

A bit of fiddling and experimenting finds a decent spot for all platen-positions, so that the full character height is again printed. Still a bit top-heavy, but acceptable for now.

With the vertical alignment adjusted and paper feed working too; a new ribbon fitted and this Mignon can write again :)