Sunday, November 21, 2021

Cleaning up the Underwood Standard Portable Typewriter (3-bank) and some first fixes

It is again surprising how much an old typewriter benefits from simply cleaning it. This old Underwood 3-bank Portable looked a right project, with a brownish hue of rust all over the machine.


Much of the rust turned out to be superficial, although some areas are rather pitted and patches have lost all nickel. With basic washing, polishing (Brasso) and the occasional use of fine steel wool, all surfaces came back to a shine. Areas with pitting and plating loss were given the aluminium-treatment. Rubbing with a tightly crumpled wad of aluminium foil will abrade aluminium into the rougher rust areas - this makes nickel-loss much less obvious.

Cleaning also clarified the serial number. Turns out I misread the number and it is a 1926 machine, not a '23. The leading '1' is easily confused for an edge of the stamping tool or missed entirely. My guess is that this is the reason for several early 3-banks with late-model features in The Database.

The bell and margins-stops that were heavily tarnished and pitted have become quite presentable. Even the drawband was given a wash. This sounds somewhat over-the-top perhaps, but the reason was that it was starting to fray at the edge at one spot. To be able to tamp-down the loose threads with latex textile glue, the band was removed and first washed to get rid of grime and dirt. It still is grey, but now the latex had a chance to connect with the fabric instead of with dirt only.

The wayward 'N' keytop and the left shift-keytop were also straightened (Underwood did not make these rings easy to get off, by the way - limpets, the lot of them!...).

There is still the whole typewriter to be adjusted and internals to be cleaned - nothing lines up properly yet. The ribbon-advance is easily accessible and was cleaned thoroughly, the ratchets move freely again. The font panel is by the way fixed with 5 screws (green ring), the rest of the screws are the mounting of the ribbon-reverse (forks with linking-bar).


This machine has been knocked about a bit, the spool-cups were bent and the entire right ribbon capstan was tilted backwards. This capstan is held in a sub-frame and can be straightened by loosening two screws (green ring). To get access to these screws, put the typewriter in 'Fig' double-shift and move one carriage-lever out of the way. Undo its screw (blue ring), then the lever will drop down (blue arrow) to give access.


This typewriter is really a miniature of the regular Underwood machine. At the back it follows the large Underwood 5 style of cast-iron frame with a rectangular cut-out showing the mechanism. Also on the lower frame the list of patents as per standard Underwood practice. This typewriter was exported from the U.S.A. to The Netherlands and there it got yet an extra label noting Dutch patent number 9461. 


This patent was issued in 1923 and indeed is the Dutch version of the frame construction for this Portable. Oddly, this patent number was also applied to Dutch 4-bank Underwood Portables and even to regular Underwood 5 machines.


The screws in the segment were re-fitted correctly. One of these screws was awkwardly screwed in askew. It turned out that this screw (red circle) was forced into a hole that does not have a thread for it.


Somehow somebody switched the two screws; the innermost of the screws on the segment top-edge are the mounting screws; small diameter and long. The second set of screws are larger and very short to only screw into the black bracket. These are the stops to hold the typebar-rod in place. Switched out again and very carefull coaxed back into their damaged threads, they now sit flush again as they should. (The third set of screws fix the brackets that hold the typebar rest.)

The botched screw is evidence that somebody repaired, or at least tinkered with the typewriter in the past. Similarly that missing left paper-finger - this does not just slide off the carriage, but a screw has to be removed for this to come off!

Now to look for a way to give it again a left paper-finger - probably will make an attempt at re-manufacturing the part (this is an unlikely part for anyone have a spare one lying about). And more cleaning and adjusting: it's really a very nice little barn-find project-machine :-)

Monday, November 1, 2021

Opening the Supertotalizer and getting the Comptometer to work (mostly)

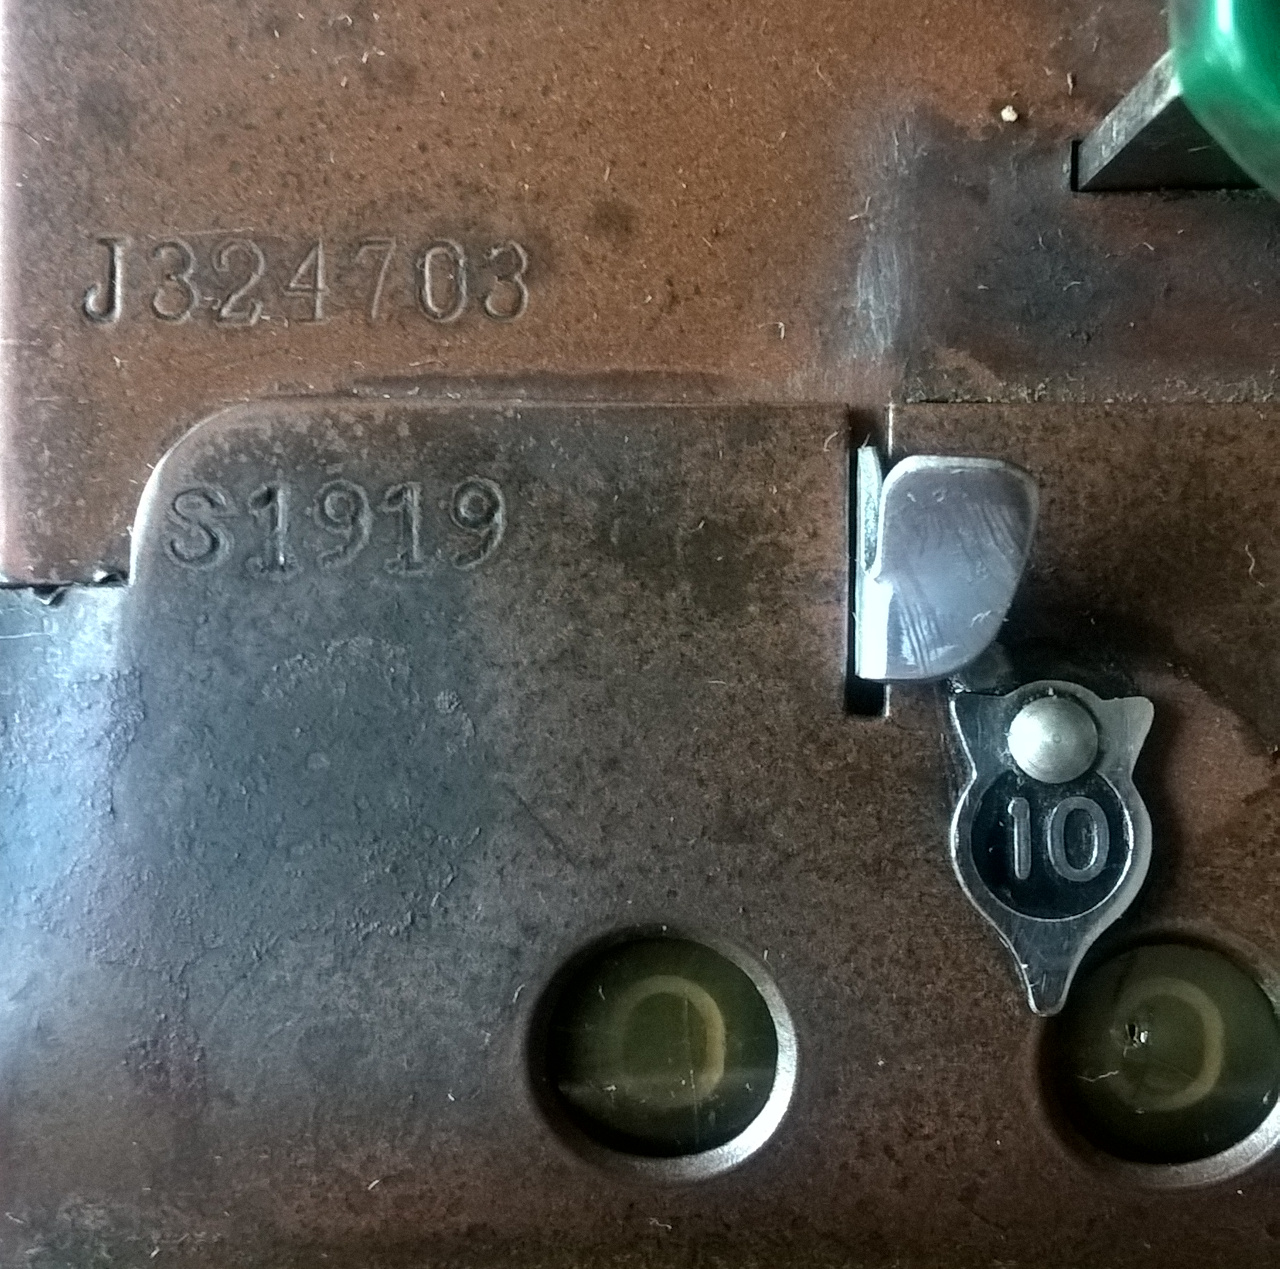
How to open a Comptometer and get access to the mechanism is well documented in several places on the internet. The Supertotalizer is not much different, it starts with removing the front top panel by removing two screws (green circle). The panel can then be lifted off, moving it forward at the same time to slide the two prongs out of the side-beading (green arrow).


Inside this panel are two strips of celluloid, held with thin clamps behind the 'portholes'. Judging from the multiple yellowed patterns, these are probably the original celluloid strips that have been shifted around over the decades. With a bit of puzzling a new position could be found without any cracks visible and not-too-yellow.


The clearing lever for the totalizer-part can be removed by undoing a set-screw that is inside of the case. After removing this lever, best give the set-screw a few turns back in to avoid it getting accidentally lost.


The handles on the right side of the calculator can be taken off by undoing their mounting screws, as is standard for regular Comptometers.


Then the case can be set on its side and the four screws that hold the mechanism in the case can be removed. I've read it is common for Comptometers to have lost some of these screws (they work loose and drop out) and this Supertotalizer also is missing one of the mounting screws. (The other screws in the bottom hold an internal stiffener, the screws at the box-corners hold the sides together - best left untouched.)


With these removed, the complete mechanism can be lifted out of the box. Either slide it out when on its side or grab by the rim of the top plate and lift out. It can snag on the cork padding of the box-sides, but with some wiggling it should come out.

The mechanism of a Comptometer is very well pictured and extensively described on the internet - those pages have been very helpful in getting to grips with this calculator. As others have remarked; this is a remarkably densely packed mechanism!


To get the sluggish columns of the main unit working again, oil was applied to all bearings and quite liberally to the stuck carry-cams. For this, a simple mineral sewing-machine oil was used. Special creeping oil was considered, but did not want to risk mixing and getting 'odd' substances in the machine. The new sewing-machine oil will also evaporate over time, but should be non-gumming. It mixes with and dissolves the old, gummed oil and washes it out - it is hoped to spots where the 'gum' cannot do harm. Continued exercise of the machine will be important for that - as per the first point of advice from The Gramophone Company in the 1920s: "Disuse is bad for the machine".

A piece of soft wire was used to route the oil to the spots deeper inside the machine. Then the numeral wheels were rotated by hand to work the oil into the sluggish bearings. (With the machine zeroed, the rock-frame is tilted forward and all wheels are loose, can be 'twiddled' freely.) This mostly solved the carry-problem of columns 6 to 10, but the first column stubbornly refused to do a carry. Instead always blocking at the 9 to zero point.

With much staring into the mechanism, referencing the pages at John Wolff's Web Museum and viewing a great animation of the mechanism, the culprit was identified to be the zero-stop of the reset-mechanism! This lever is held by a torsion spring against a frame-tab and moved as the rock-frame moves. Maybe this machine got deformed from a few knocks during its time, but with the rock-frame engaged, the zero-stop of column 1 was still in the path of the stop-pin - thus preventing moving from 9 to zero. Very careful forming of the frame-tab resolved the problem of column 1 (further tweaking of the tabs for other columns solved remaining reliability issues there too). Note that a small change in the holding tab has a large effect on the zero-stop position, so very small adjustments only!


To clean bearings without completely taking the mechanism apart, it is recommended to run a rod of the same diameter through the machine to push out a bearing-rod for proper cleaning. 


This actually worked well on the intermediate-gear rods (green circles) - it made the main-mechanism noticeably faster. Thankfully there were no mishaps and no gears fell out of the machine during this process. An old knitting-needle worked well, with a diameter of 2.8mm and the end sawed-off to give a clean push-plane.


The number-wheels and the carry-wheels (yellow circles) however have a smaller rod of 1/16" diameter - have yet to locate a smooth steel 1/16" rod (and pick-up courage) to tackle those. Another thing is that to remove the carry-wheel rod, first the intermediate-gear rod needs to be replaced with a slightly shorter temporary rod. This then allows the holding-brackets to tilt/slide away, releasing the carry-wheel rod.

The totalizer-component was completey seized-up with gummed-up old oil. Extensive tweaking and long stares at the mechanism revealed this was only from the carry-gears being stuck to their axle-rod (red in drawing). The rest of the gears and wheels were easily freed. Applying liberal oil and forcefully working the gears back and forth individually slowly released the columns one by one.


This was a long process, leaving the oil to penetrate inside the gear-wheel bush for several days (with periodic working the wheels) for every column and using prods to get the oil where it has to be. 


In the end, all columns of the totalizer again move freely and the carry works fine. That the old gummed-oil is still on the rod is a worry, it should really be taken out and properly cleaned - but for now this is what could be done. 

A few of the blinds had come unstuck from their peg, with a thin screwdriver their tabs were easily flipped back over the actuating peg (green arrow in picture, green circle/arrow in figure below).

With some extra oil at likely spots and a thorough cleaning of the red correction-button stem, the controlled-key error detection mechanism also started to function as advertised.

The one thing that still won't work, is the main bell. The mechanism is there and seems correct, the rock-frame however just doesn't put enough 'zest' into its engaging-movement to give the hammer enough momentum to strike the bell. We can live without a bell.

The Felt & Tarrant Supertotalizer has now been oiled and continues to be extensively exercised - and all the main functions work again.

Now discovering how to operate it; a fascinating calculator and it's surprisingly fast and capable. 

Typewriters are simple :-)


Sunday, October 17, 2021

Cleaning the Comptometer Supertotalizer

The fur between the keys is removed and the overall machine polished-up nicely.

The keytops themselves were first cleaned of the runny 'goo' by simply wiping it off with tissue-paper. Much of the remaining dirt and expanded 'ink' was removed with a rag plus soap and water. The top surface and the sides of the octagonal keys was finally 'polished' with metal-polish - this makes the surface a little brighter again without damaging too much. Especially the white, dimpled (odd-numbered) keys have deteriorated - the old plastic has shrunk, cracked and curled up. The keytops are still not completely cleaned, but the keyboard is now serviceable and no longer 'icky' to touch.

To clean between the keys without removing them (a non-trivial procedure), a 1/4" square wooden slat wrapped in a damp rag was used to get between the stems. This slat with cotton rag with some metal-polish was next used to clean the stems themselves. Great care was taken to not rub the top-plate with the metal-polish, as this would have damaged the finish!

The case of the Comptometer is made of copper-plated steel that was then given a clear lacquer top-coat. On the front-right corner these layers are worn-through from regular use. (Quite some information about these Comptometers is on the internet at various sites, for example a lot of information on the different types and on the mechanism is on John Wolff's Web Museum site.)

The copper-coloured case was washed overall with a damp cloth with soapy water. With a wooden toothpick the dirt around the edges of the raised decorations was cleaned off.

Most of the dark stains are corrosion and/or dirt of the copper underneath the lacquer. For example; most of the dark spots on the top-plate between the stems clearly show the hole in the lacquer, with surrounding discolouring.


This means that many of the stains and spots cannot be cleaned without completely destroying the finish. These machines were never brightly copper-coloured, but always a darker brown. (Perhaps the finish was chosen to mimic the original wooden box models in general appearance, when they switched to metal cases in 1904. Pure speculation, but could well be.)


Nevertheless, the machine cleans up well. To protect the finish against future corrosion damage from cracks in the lacquer, the case was given a polish with petroleum jelly (Vaseline). This will fill cracks and help seal the metal from oxygen - plus it gives a bit of a shine to the surface.

The serial numbers of the machine are repeated on the mechanism internally. These are the same as those stamped on the outer case, further confirming the calculator is 'unmolested' and original.


On Comptometer model J calculators the back plate generally carries a list of patents. On the Supertotalizer the backplate only has the Comptometer script-logo and the patent list is now on the bottom-plate of the machine.


On this machine the list is scratched and a bit difficult to read. Even though this machine was manufactured around 1935, the list still starts with Dorr E. Felt's first US patent 366,945 for the Comptometer issued in 1887.

The display windows have strips of celluloid behind them. The celluloid is of course yellowed with age, but not too bad. Several yellowed-dot patterns on the sheets were evidence that these strips had been shifted around several times to place a new, bright bit of celluloid in front of the windows. The strips were merely cleaned and placed back.


Next to tackle the mechanism. The columns 2 to 5 work, the rest refuse to budge or will not do a carry at all. It's as if the machine is lubricated with treacle. The Totalizer bits are worse, as if lubricated by tar.

Nevertheless, the mechanism is complete with no obvious damage so it should respond well to new oil and exercise! Lots of exercise :-)

Thursday, October 14, 2021

Thrift-store find; a Comptometer JS 10 Supertotalizer

Last month on the way back from an errand in town, popped by a local thrift store to just have a browse-round. Right inside the entrance on the table that normally carries the typewriters sat this calculator.

(Not a good picture, but taken quickly - the full-keyboard calculator at bottom-right.) 

That's a Comptometer Supertotalizer, that is!

A Comptometer is a fairly common type of quick key-driven adding-machine. The Supertotalizer version however is reported to be pretty rare, so it was surprising to just walk into one here locally in the recycling/thrift store. Did a quick check and picked it up then-and-there, making a U-turn back to the check-out and quickly bought it. That browse-round of the store will have to wait for another day.

Had been keeping half an eye open for a Comptometer already for some time, waiting for a nice 8-column black-keys specimen to turn up locally and reasonably priced. When however a rare Supertotalizer sits right there for the picking-up, a 10-column machine with green keys is good too :)  

This copper-brown machine is a Supertotalizer (or Super Totaliser). Introduced by Felt & Tarrant around 1934, this is essentially a model J mechanism with the Supertotalizer bolted onto the front, both housed in an enlarged 'shoebox'. Both components have their own serial numbers, so the main serial number is J324703 and the Supertotalizer component has serial number S1919. The J-number dates it to about 1935.

It's very 'stiff', several carry's don't work and the totalizer is completely jammed, but it is complete with all the comma-indicators and keytops.

About those keys; they are present..., however, as is common for these 1930s model J machines, the plastic (Galalith?) of the white keys has severely degraded and the ink has 'gone wild' and migrated all over the keytops. The awful sticky dust (fur!) under the keys and tarnishing suggest the machine was left untouched somewhere in a barn for the last 50 years or so.

Compared to typewriters these are dauntingly tricky (and dense) mechanisms to take apart and tinker with, so hopefully a good cleaning and new lubrication will restore the mechanism to working order. First however is to 'sanitise' and clean the outside and the keyboard... (yuck!)

Sunday, October 10, 2021

Projects: group of three 'barnfind'-machines

Not so sure it was a worthwhile purchase now that the true state of the machines is visible, but definitely 'projects'. 

Yesterday acquired a batch of three typewriters that should last me for a while to tinker with to get them fixed-up and usable. They are all pre-war portables and actually neat machines of themselves. They'll be kept in storage for a while, to be taken-up as projects over the coming winter (or following summer...). But already some pictures of the three as purchased:

First the Mercedes Prima portable typewriter.


This is the most dusty machine of the lot - for a machine to attract this level of dust-fur inside a case is a remarkable feat. The case is cracked and the spools are rusty, but underneath all the dust this machine seems to be in excellent condition. The inside mechanism is completely rust-free - it also shows its Underwood origins. It is internally identical to an Underwood Universal - will be curious to see if it was converted to metric for manufacturing the design in Germany.

The serial number plate fixed per Underwood-practice to the frame behind the left spool. This makes it I think a 1934 machine.


The second typewriter in this lot was one that got my attention - an Erika M portable.


The Erika and especially its case are also very dirty, definitely 'barnfind'-condition. It seems mostly complete, but has several issues such as seriously bent typebars and non-functioning ribbon-vibrator. It is not 'mint' so will not be worried about digging into this machine to see if it can be fixed-up. These are truly magnificent machines when tuned well, so there's something aim for :)

The keyboard layout of this machine is probably a custom one-off job. It combines the very Dutch 'IJ' key with Norwegian 'AE'. More reason to want to have this machine usable again. The bent typebars are worrying though.


The third typewriter in the lot is a somewhat tired-looking 1923 Underwood 3-bank without case.


Had been looking for a nice specimen of a 3-bank for a while, but they are getting increasingly rare and nice ones are increasingly costly. So as an alternative I was tempted to get this beaten-up project-machine that will be good for fixing-up and exploring the mechanism of these miniature typing wonders. Apart from the usual rubber-issues, the mechanism seems all-there and working - albeit very stiff and 'crunchy'. The paintwork is dull and decals are worn with a light sprinkling of rust all over the brightwork. This will be a guilt-free restoration project!

First however all three will be stored. All machines were given a quick wipe-down to remove the worst of the cruft, then sealed with their case in plastic bags to be put away (in a dry and warm spot). The plan is to take these out one-by-one as restoration and repair projects over the coming year(s). 

If the state of these typewriters had been clearer, I'm not sure I'd have purchased the batch. But now that they're here - many months of typewriter-tinkering fun is ensured :-)

Saturday, October 2, 2021

Reproduction comma-indicators for the Thales pinwheel calculator

The Thales model CE mechanical calculator was missing 4 of its 5 comma-indicators. 

The originals are fairly fragile and are often missing from these pre-war Thales calculators. The bottom of the thin sheet-metal stamped construction is clamped and comes away easily - the whole thing then just drops off its rails. Although the machine 'works' also without them, to be complete a new set of these "Kommaschieber" could be made using 3D printing.

Luckily there was one remaining slider still with the machine - using this one original as a guide, a 3D design of a replacement was made that would be printable in plastic, function on the machine and still resemble the original. A set of these were then printed in PA using MJF-technology printers. This technology creates parts that are quite strong, slightly flexible and with dimensional accuracies and features good enough for this part to work. The surface as-printed is slightly grainy, but can be smoothed with sanding.

For printing (and handling) a set of the pointers were grouped (with connecting 'beads') into a single printable part-file and ordered in MJF (Multi Jet Fusion) at Shapeways. When received the parts were first washed to remove any grease or other remaining contaminants. Then the group was given a coat of primer (spray-can) before a first coat of 'chrome' lacquer. The parts are then still very grainy (and shiny), ready for separating and sanding smooth.

Using water-based modelling paints in metallic-silver, the parts can be given a proper brushed-metal appearance. Because the paint is water-based, water-based inks could be used to find a good colour match for the nickelled parts of the original. In this case, brown and yellow Ecoline was added to the silver-paint to find a colour that would not jar too much with the original. (Metallic 'silver' is a surprisingly varied colour.)

It took a few iterations of filing and sanding the surfaces smooth and re-applying a newly-mixed brushed-nickel paint to get the comma-indicators looking the part. The printed parts actually fit the comma-bar without any modifications and the PA material gives it a good, firm grip on the rails for sliding them.

Now with the complete set of 5 indicators, the Thales mechanical calculator again looks as it should and comma-positions can be again indicated with the pointers. (The comma in the lower-left UW register shows the answer to square-root of 10 being 3.162277. The indicator in the lower-right RW is between positions 11 and 12, where it started with 10 in positions 13 and 12. The RW and the upper EW registers now show the remainders of the square-root calculation. These actually make it possible to determine if the last digit of the answer should be rounded up or down - if the RW is less than half the EW, then the next digit would be less than 5 so round down, otherwise up. The EW is 632... so checking against 316.. immediately shows the RW is larger with 417..., so the answer has to be rounded up to 3.162278. Have been reading-up on the use of these calculators; fascinatingly ingenious machines!)

The 3D model of a group of 10 of these indicators is available for download at this link.

Wednesday, September 1, 2021

Remington keyboard layout No. 645 (UNMIF)

The keyboard of this sunny little Remington Portable typewriter looked clearly Portuguese.

Now confirmed that it indeed is Portuguese; it is Remington typewriter keyboard layout number 645. For ordering use telegraph code "UNMIF" - well, back in the 1920s you could have.

On the Archive are scans of Remington typewriter keyboards. These pages give an extraordinary insight into the wide variety of regional keyboard layouts, the vast number of (to my eye) minor variations, very specialised trade-layouts and specials for large companies.

The pre-printed characters on the form also show Remington's most common variations in keyboards - the q, y, z and a were filled out by hand and the rest of the letter-characters were standard and printed. 

Almost 2000 different layouts must've been kept on file at the company - now many scanned and available on the Archive - with many thanks to the uploader!